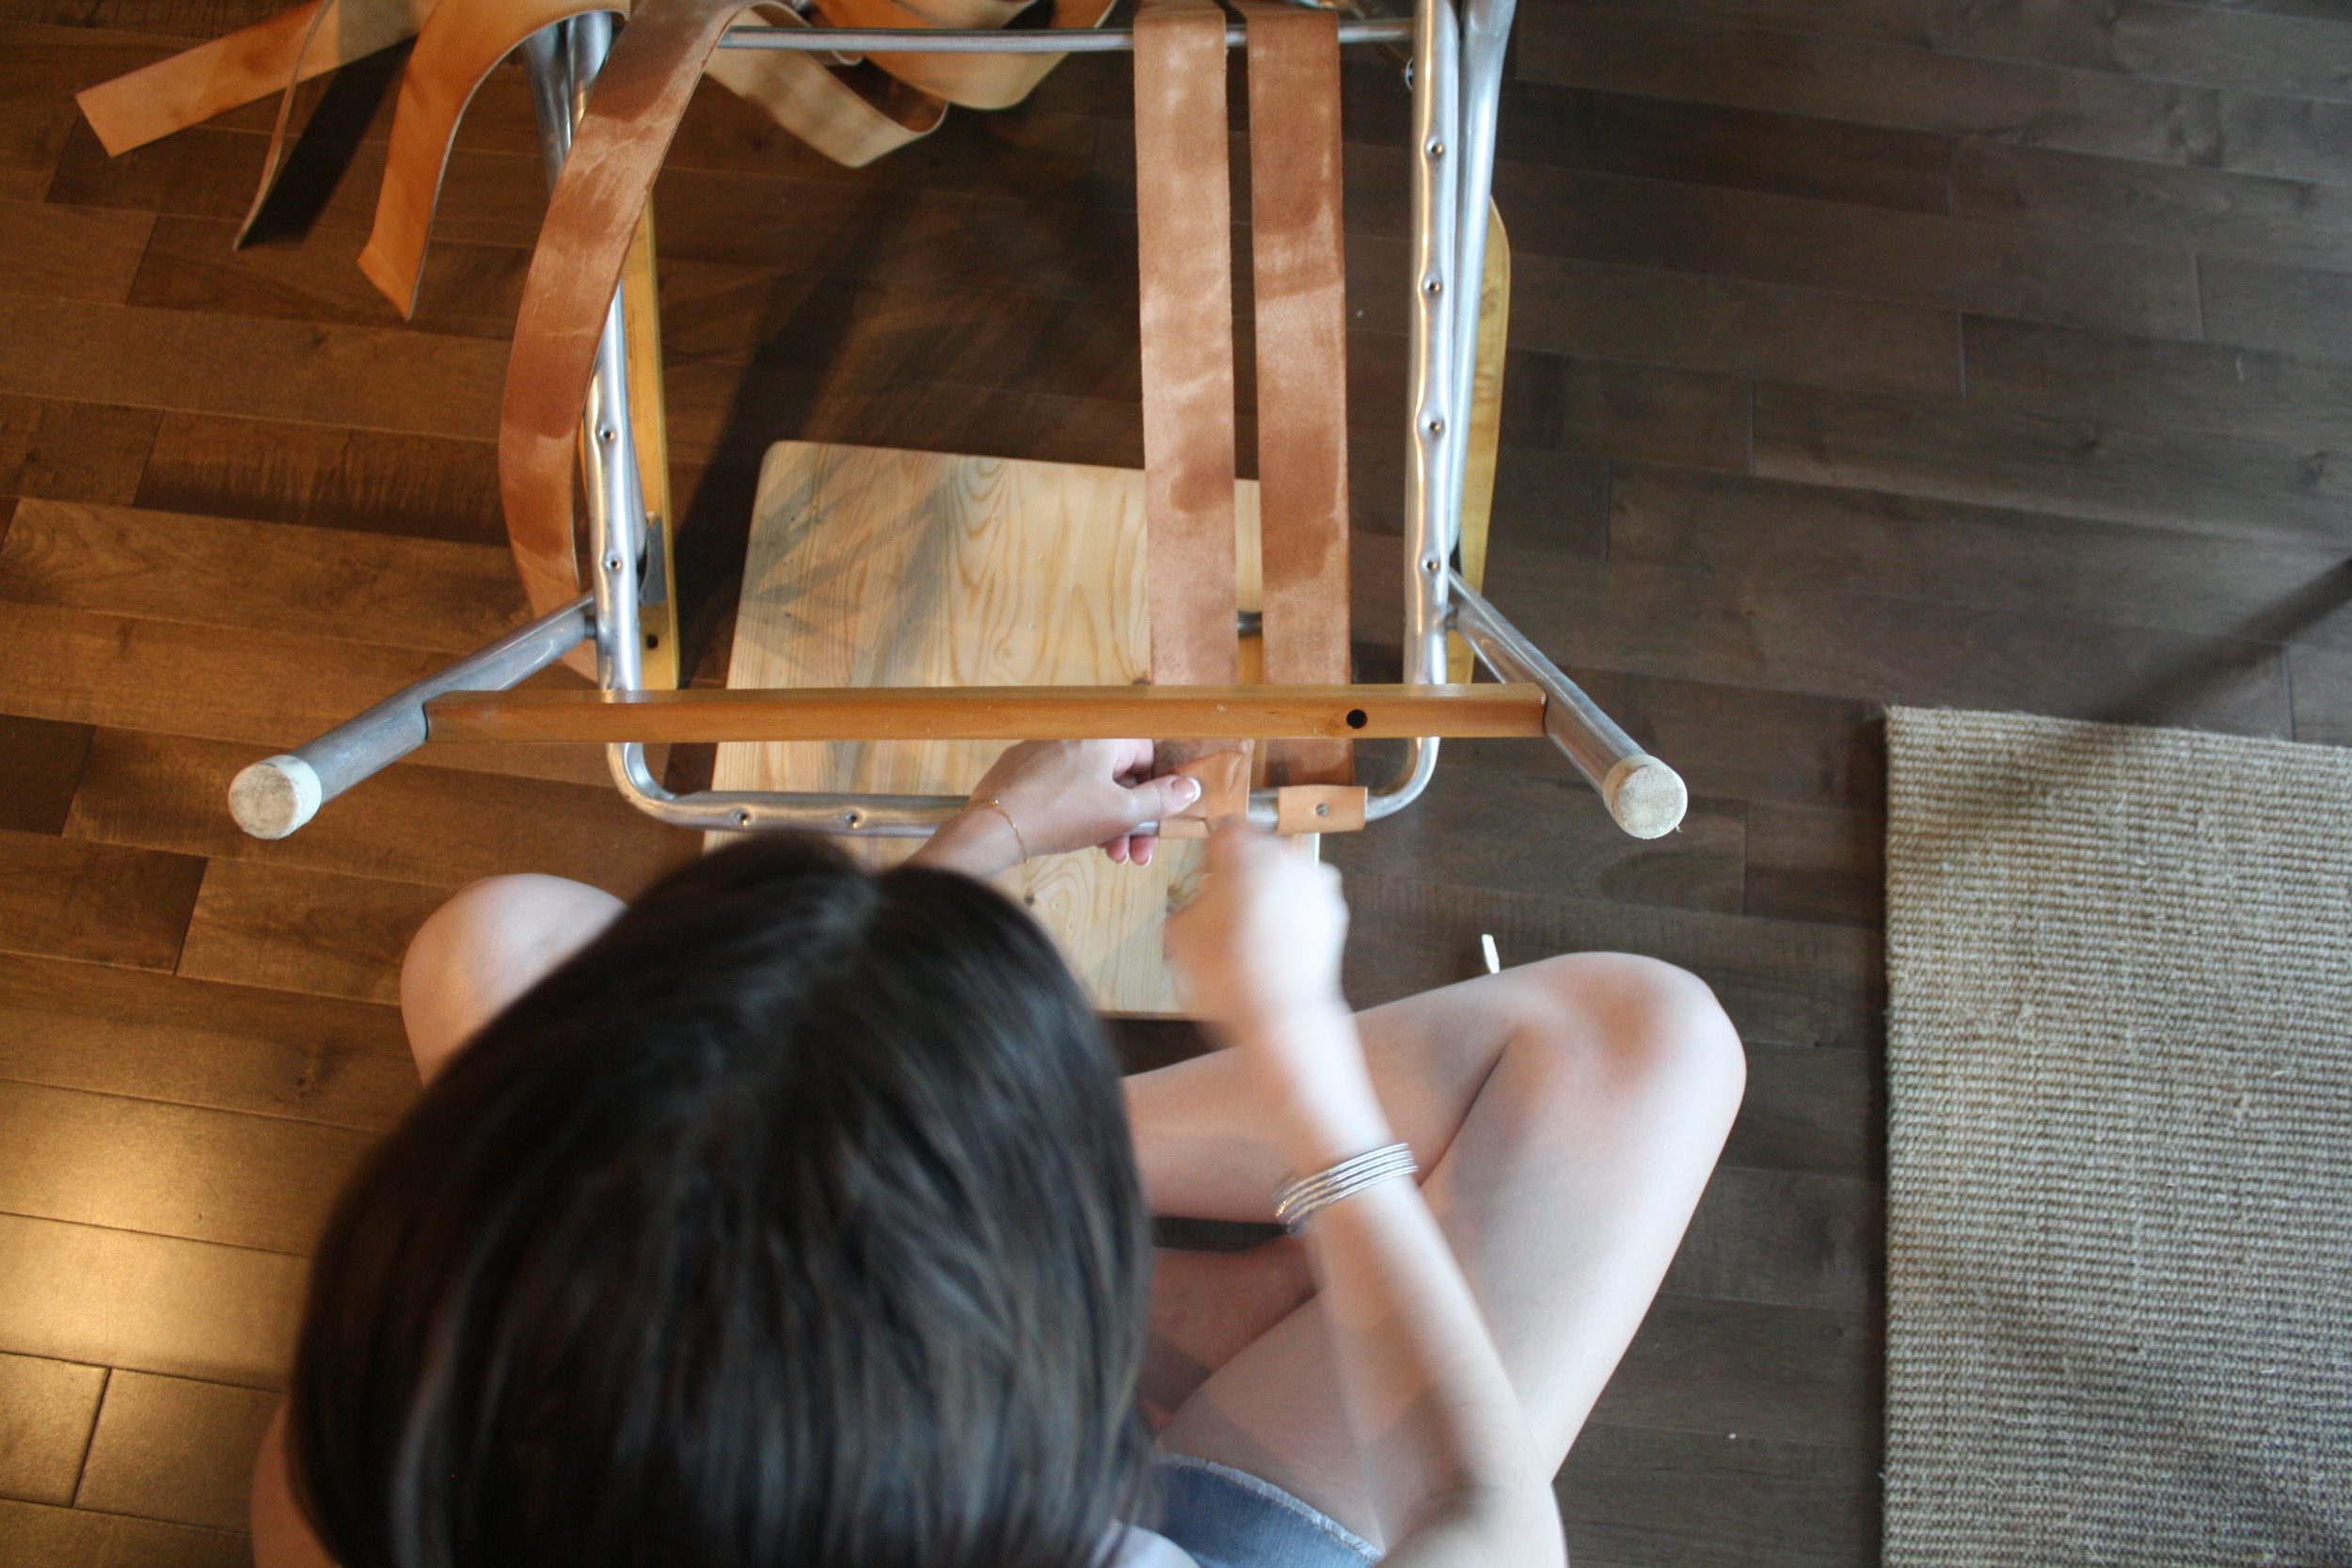
I am so impressed with Patio Lane and the work they did on these cushions! Outsourced completely to their website (www.patiolane.com), including the Ralph Lauren fabric that was my ultimate choice, these cushions were delivered in what felt like only a handful of weeks.
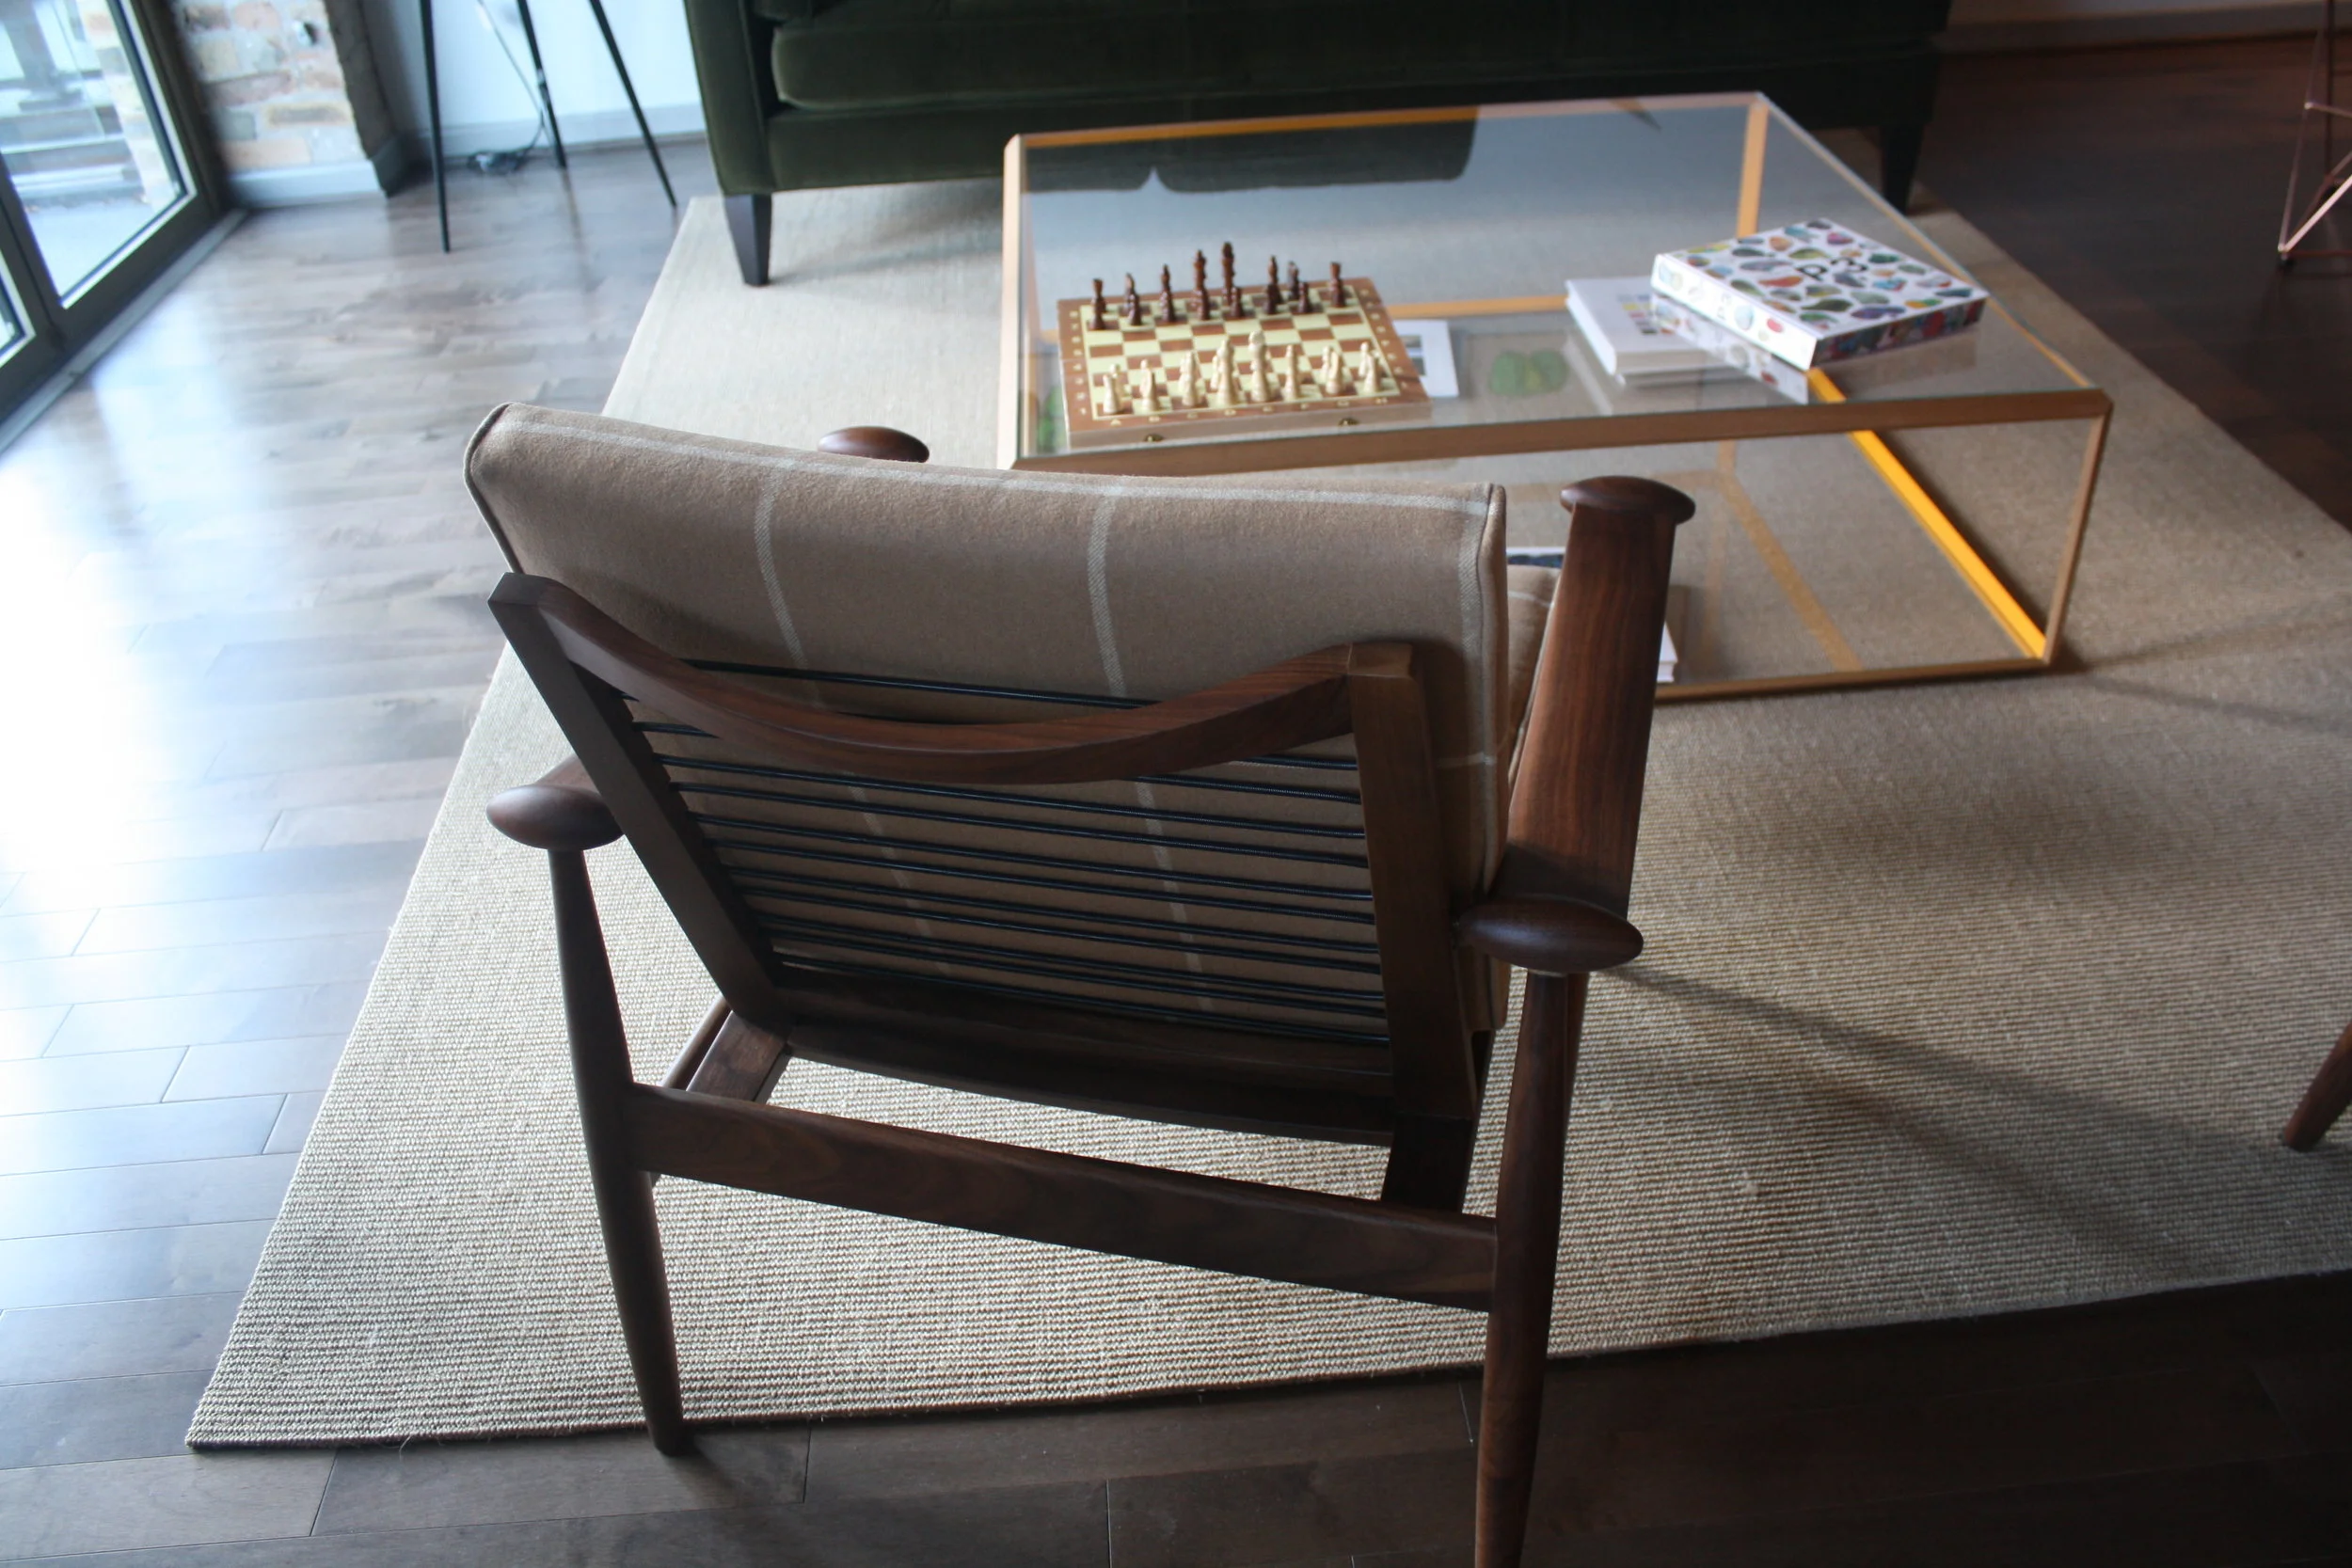
You may remember what these chairs used to look like - nothing special in drab gray, and not that comfortable either!

The waterfall upholstery style maintains the continuous look of the fabric over the front of the chair and the piping along the edges makes them look more refined.
In the background, I added a towering bookcase to save space and consolidate our growing book collection.
Here is the finished look!

Ralph Lauren Westcliff Tattersal Camel LCF65792F