I love homemade gifts and for Christmas 2015 I made candles and pins. This year I took on the overly ambitious project of making earrings, similar to Les Bonbons by Rebecca De Ravenel that are available for purchase here: https://rebeccaderavenel.com/. It was harder than it looked, so unfortunately I did not finish in time for Christmas, but alas - I am now complete and here are the results!

A labor of love, my friends!
For this project the supply list is incredible, because it is cheap and basic. You will need:
1) Styrofoam balls (4 / pair): I used 1" smoothfoam balls found here, http://www.smoothfoam.com/product/balls/10010.html
2) Styrofoam half balls (2 / pair): I used 1" half smoothfoam balls found here, http://www.smoothfoam.com/product/10612.html
3) Gold acrylic paint, or color to match silk thread
4) Gold silk thread, or color to match paint
5) Clip-on earring flat back findings: I used something like these, http://www.firemountaingems.com/itemdetails/h20b4401fn
6) Gold wire, jump rings or chain: can also find at Fire Mountain Gems
7) Needle-nosed pliers, wire cutter (for jewelry), Glue, Toothpicks.... scissors, and, that's it!
The first step is to drive a hole through your smoothfoam balls with a toothpick and paint them gold. You can use the toothpick to hold the ball in place as you paint.

Painting the smoothfoam ball gold with acrylic paint.


I ended up painting a few different sizes to experiment. The larger balls, 1" diam., were my fave.
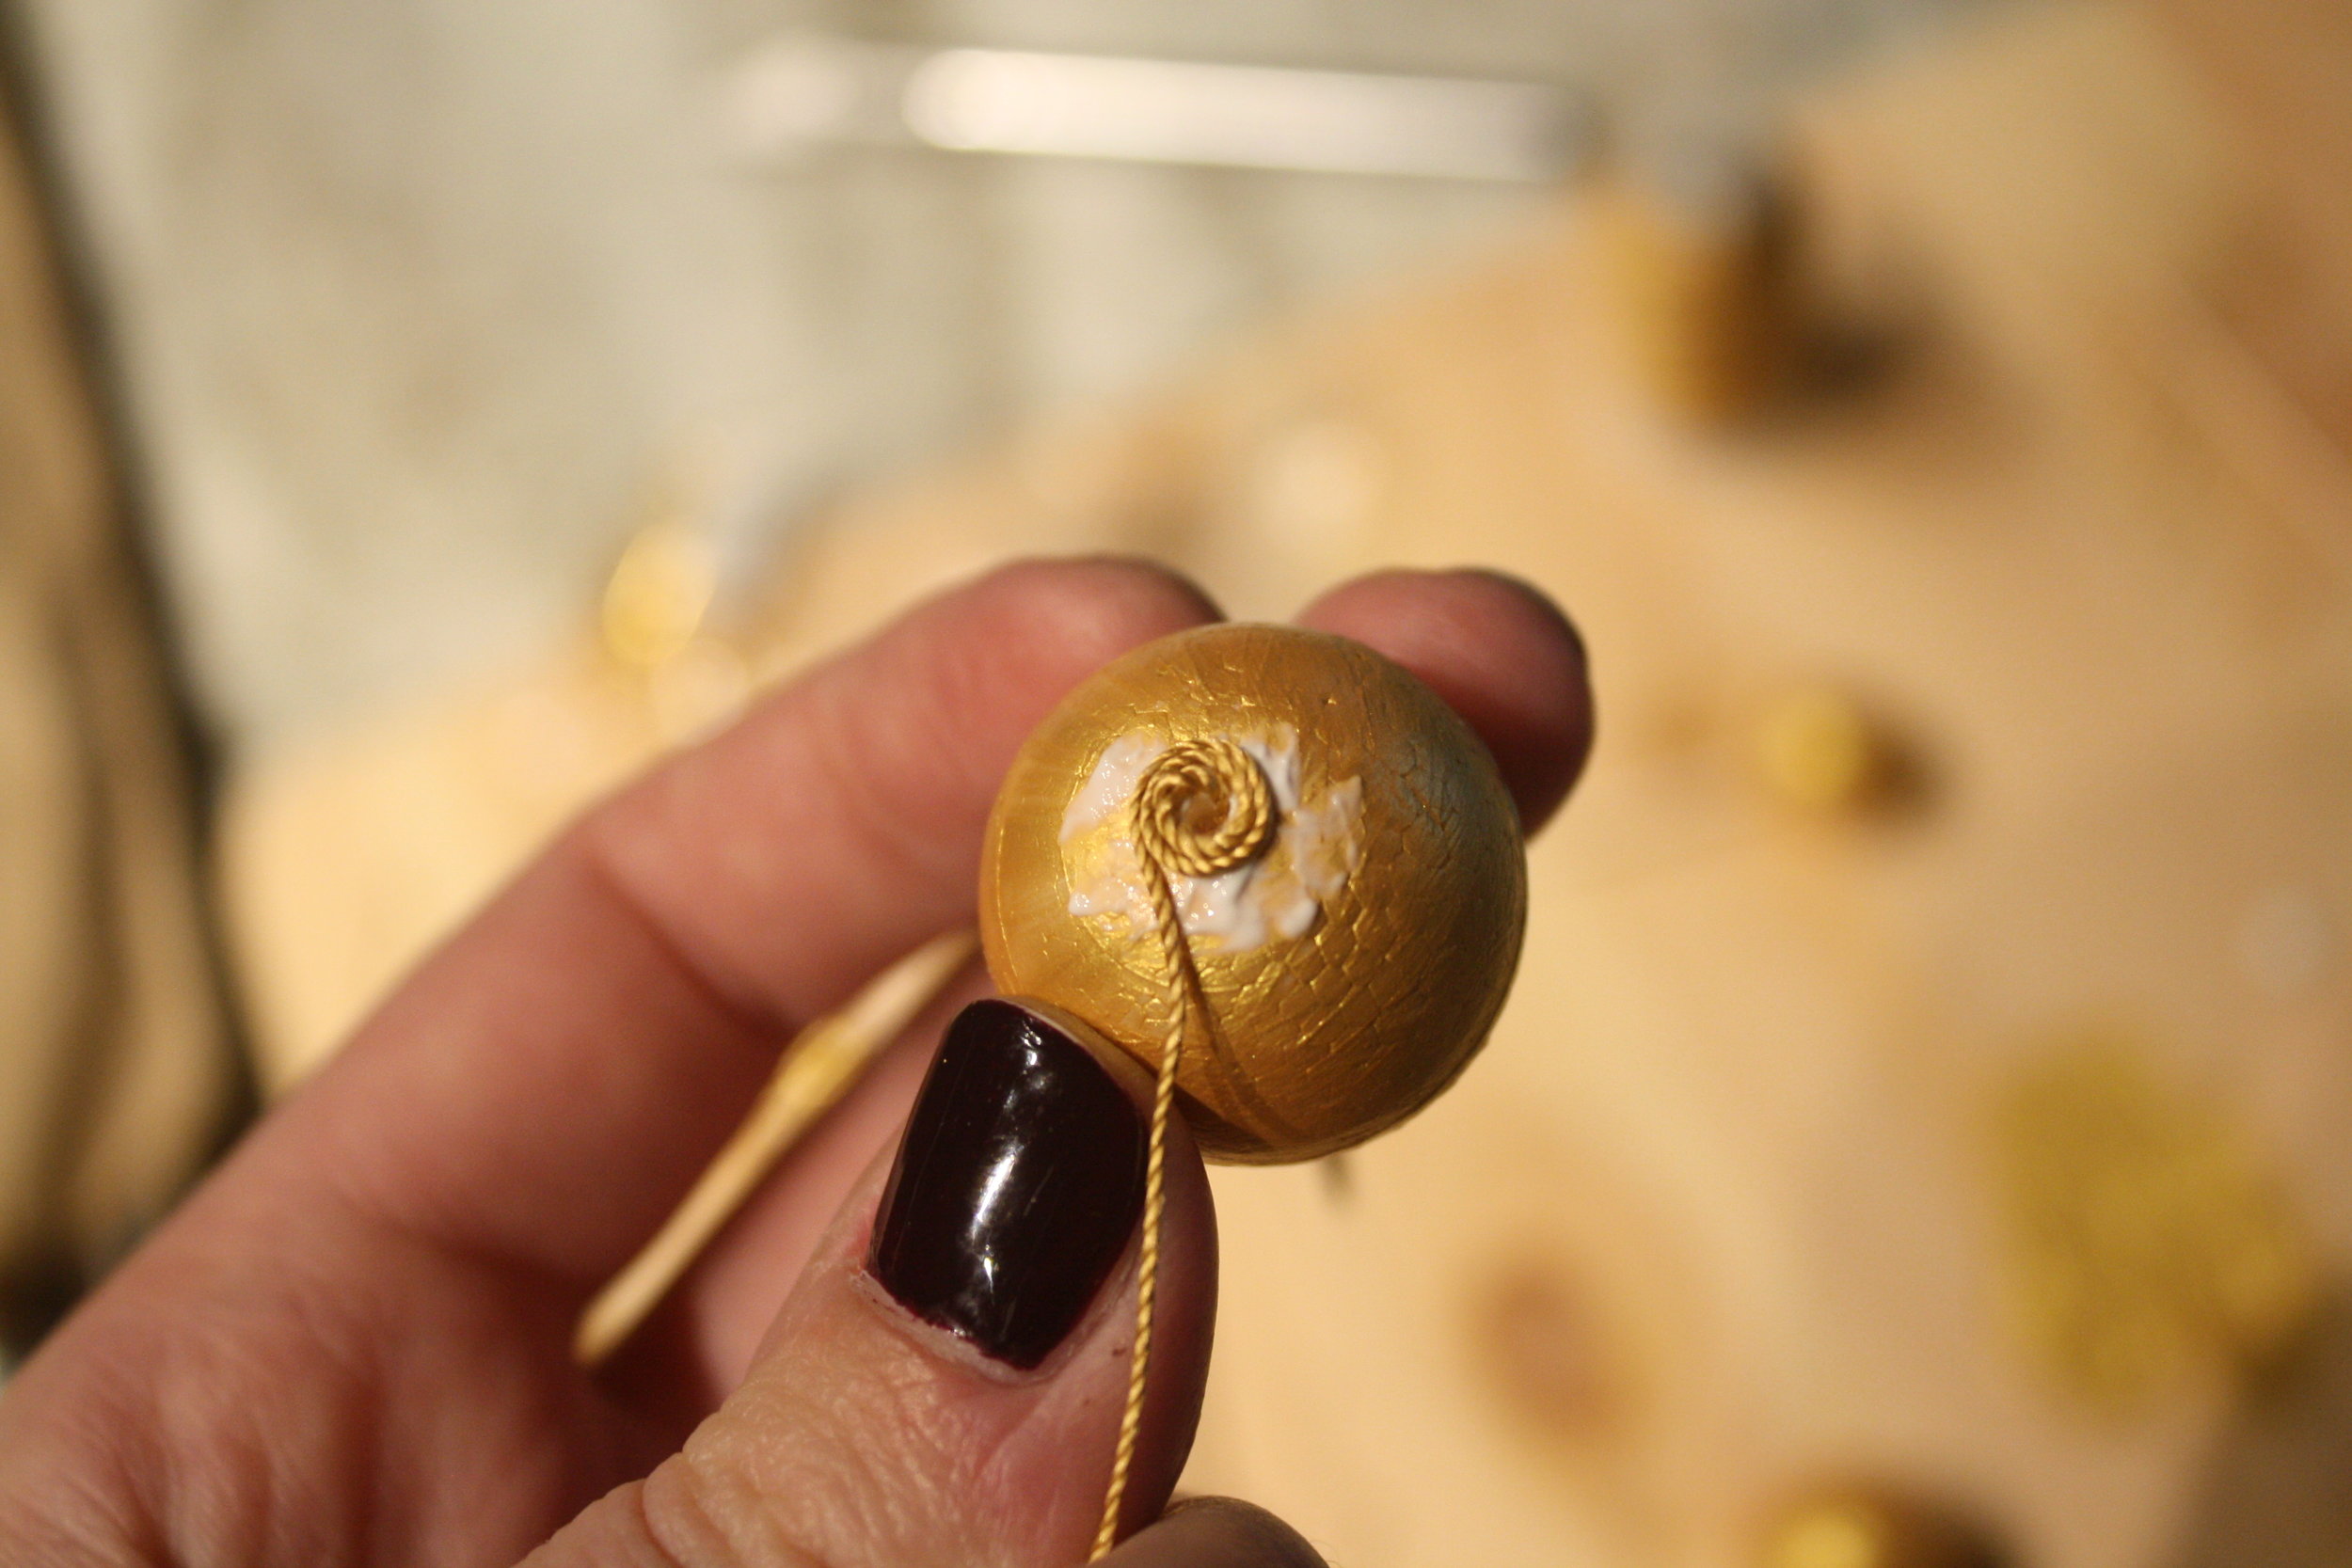
Smearing on glue with a free toothpick and tucking the tail of the silk cord in place - glue and wrap.

Keep gluing, keep wrapping and watch out for dirty fingers!
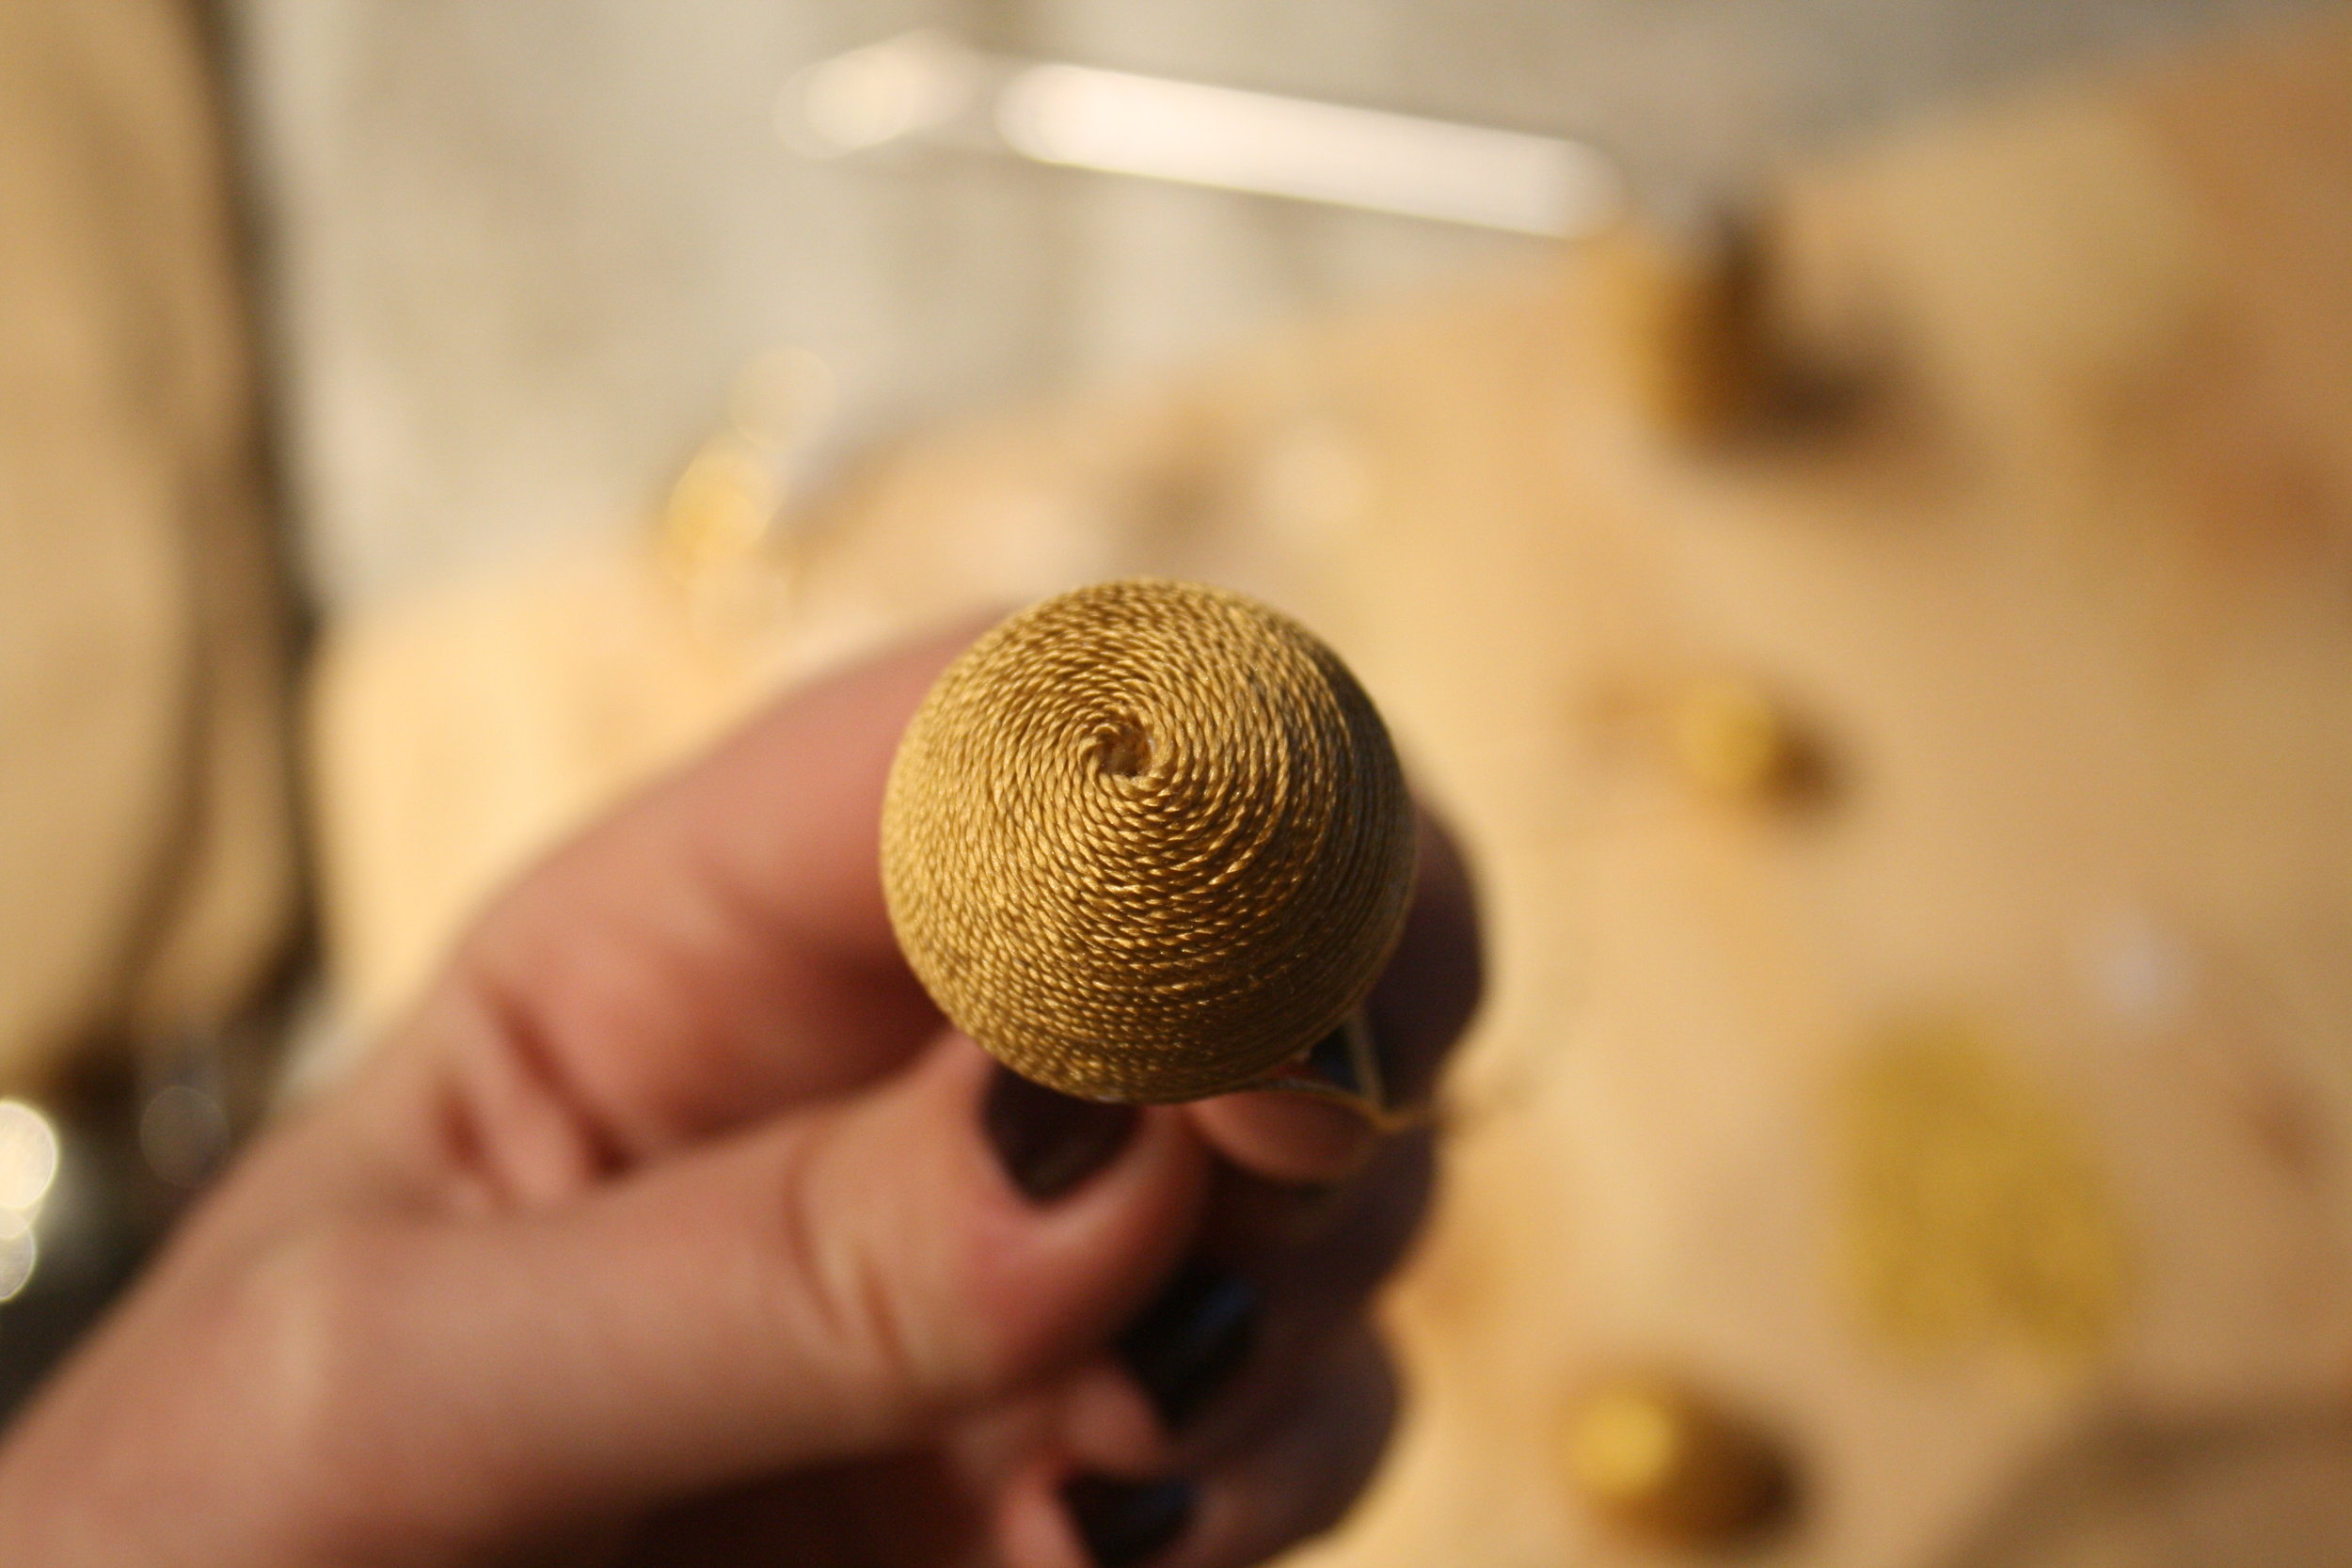
Halfway through and looking good.

Beads taking shape...

Once you reach the end, tuck in the string with some glue and let dry.
If you are still with me, you are golden. The hard part is done!

Repeat steps above with your half smoothballs.

Time to assemble. Using a headpin or gold wire (as pictured), use a needle nosed plier to loop the end. This is to keep the bottom bead in place.

Using the needle-nosed pliers, make a loop.
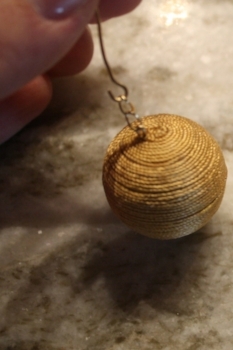
Attach a short length of chain. I ended up only using one single loop.

Put it all together! Yes, it is possible. :)
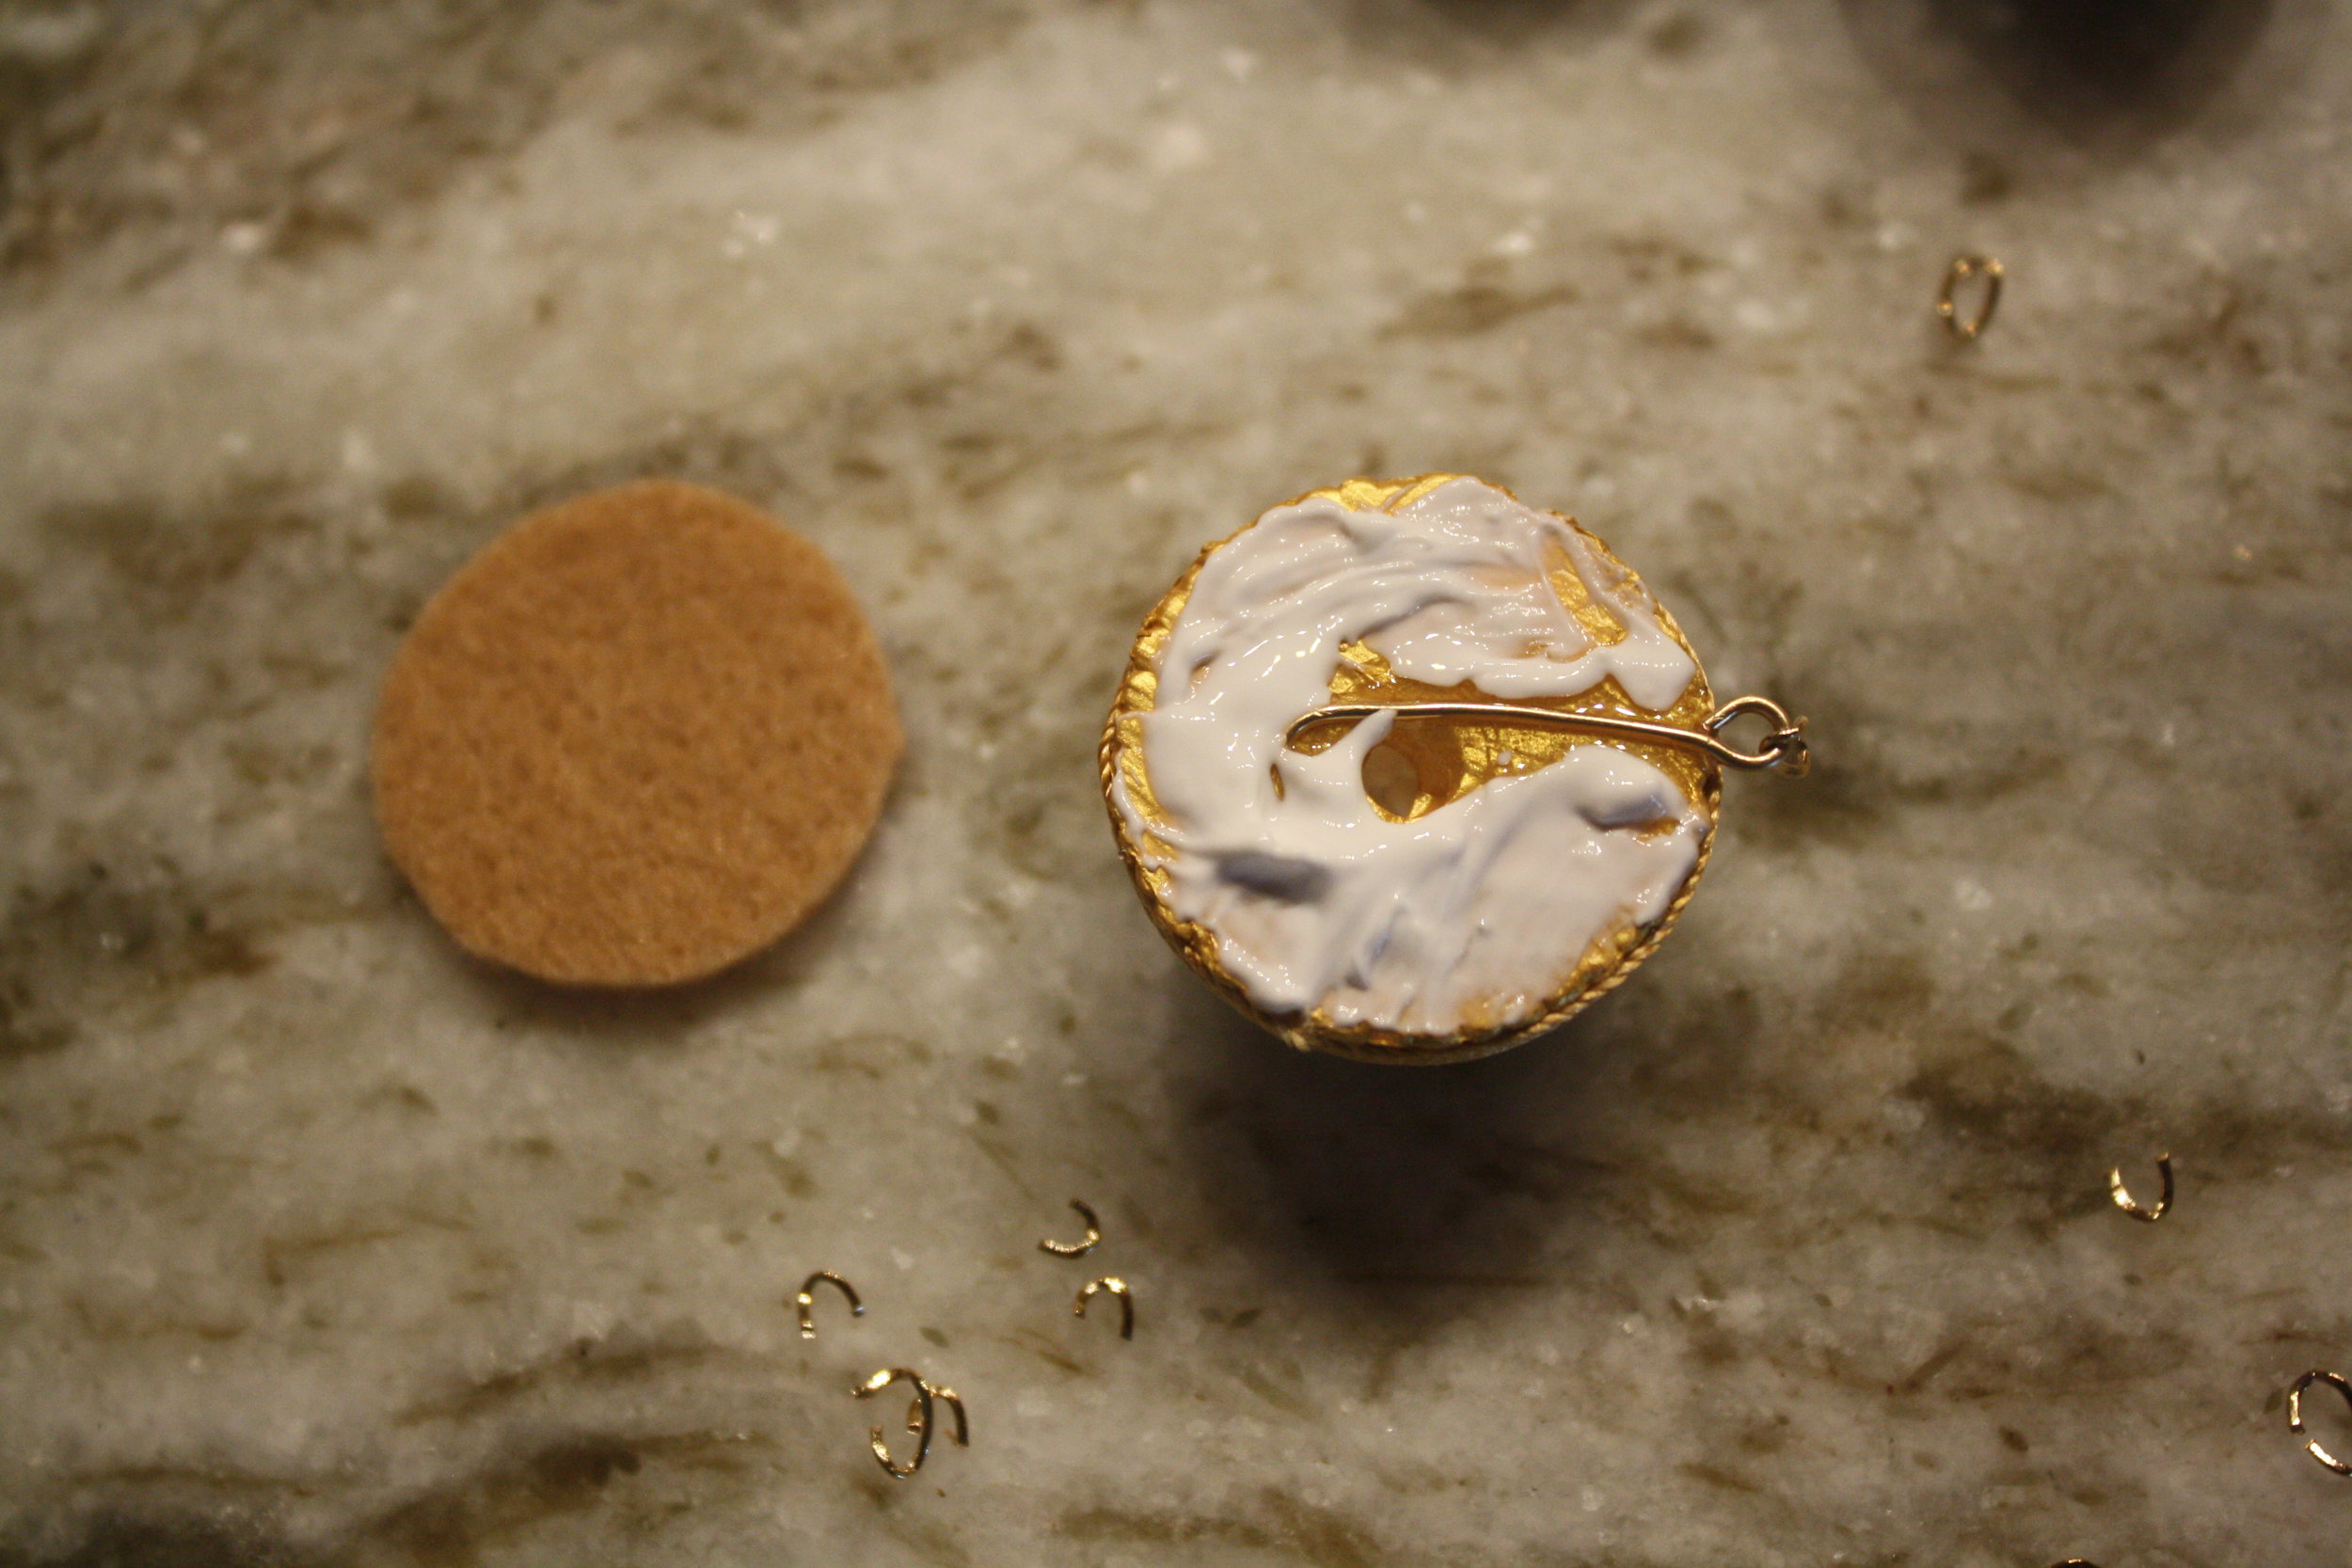
Apply glue to your half smoothball and cover with felt circle backing.

Glue on the clip-on with tacky glue and assemble. These earrings weigh almost nothing!

Finished product!
So I appreciate that this project is probably too hard for most to want to take on. If you love these earrings, but don't love the crafting component - you can always splurge for the original that is available for sale here: https://rebeccaderavenel.com/
If anyone decides to give it a go - please post your comments below! Would love to hear how it worked out!