I love the Lynn Chase Jungle Jubilee hand painted plates. I ordered a set of four off of Ebay for $30. Unfortunately, two arrived broken in half, so I am left with two for this post. :/ (USPS claim is in the works!). Today I am going to show you how to fix a plate with a chip. Note: this method should only be used to fix chips along the edge of a plate and not where food is served.
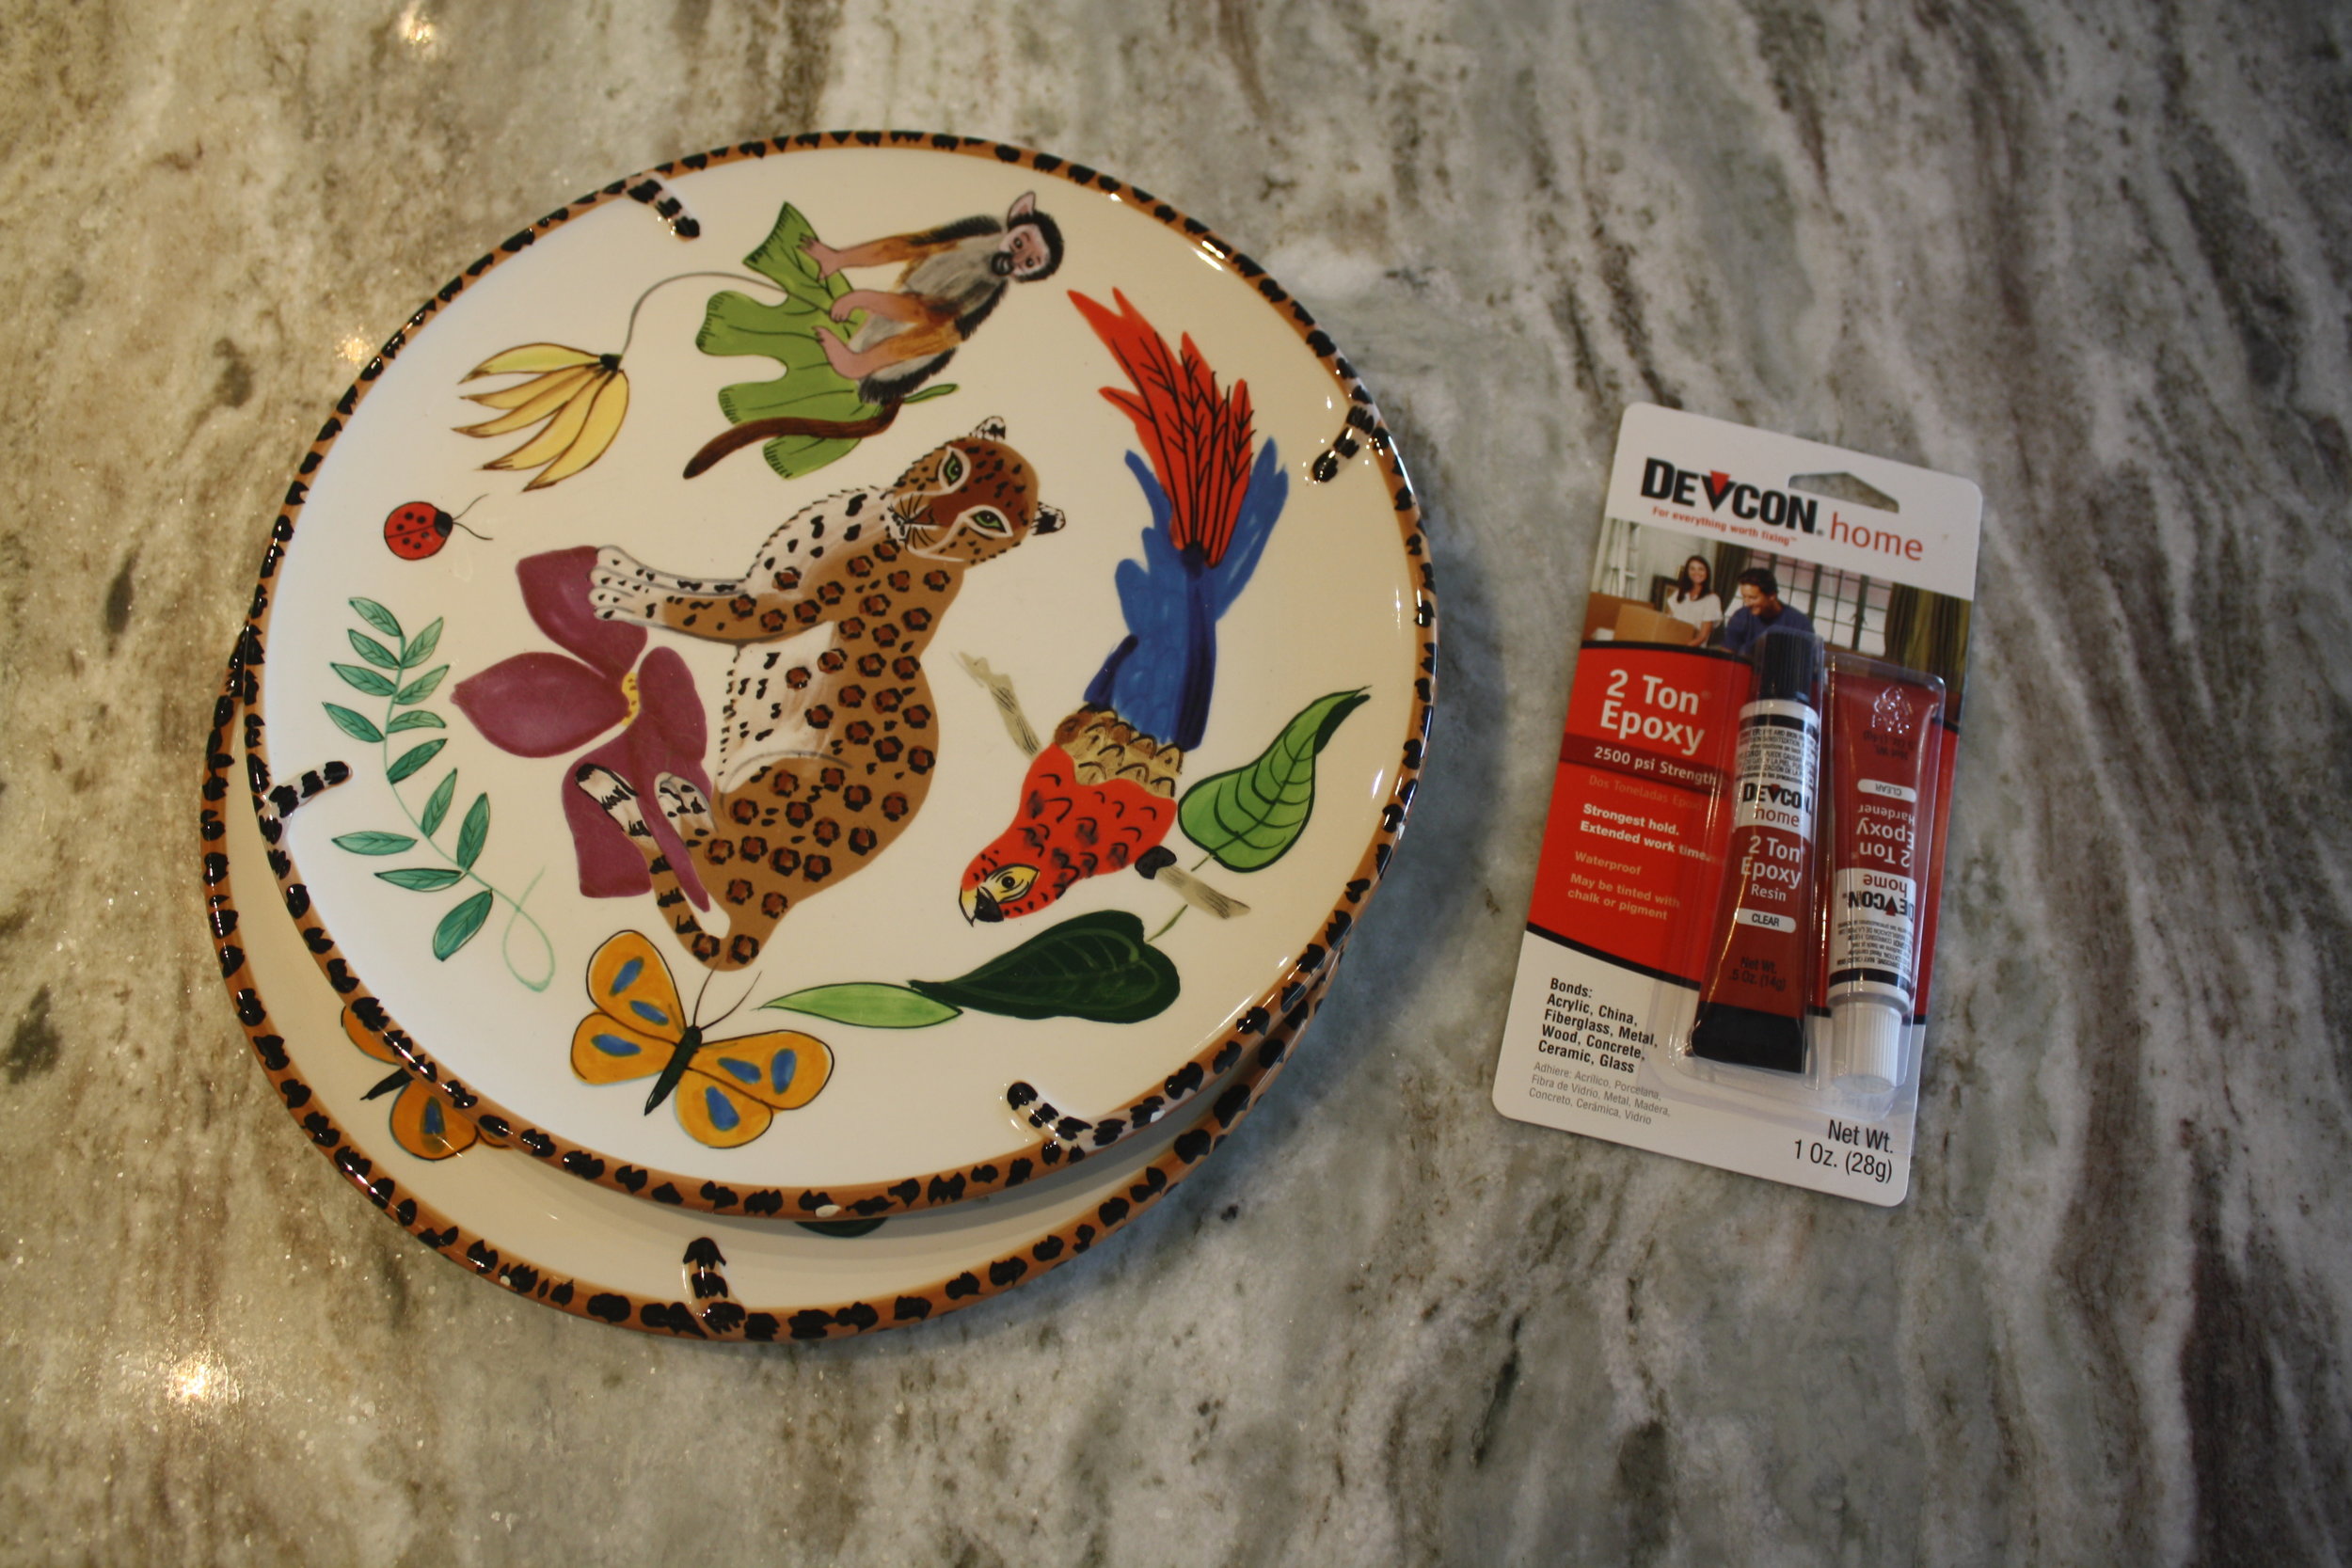
Love these plates. If you look closely, you can see some chips along the edges.
To fix the chips, you need: 1) 2-Part Epoxy: I used Devcon from Amazon, 2) Oil pastels, 3) Toothpicks
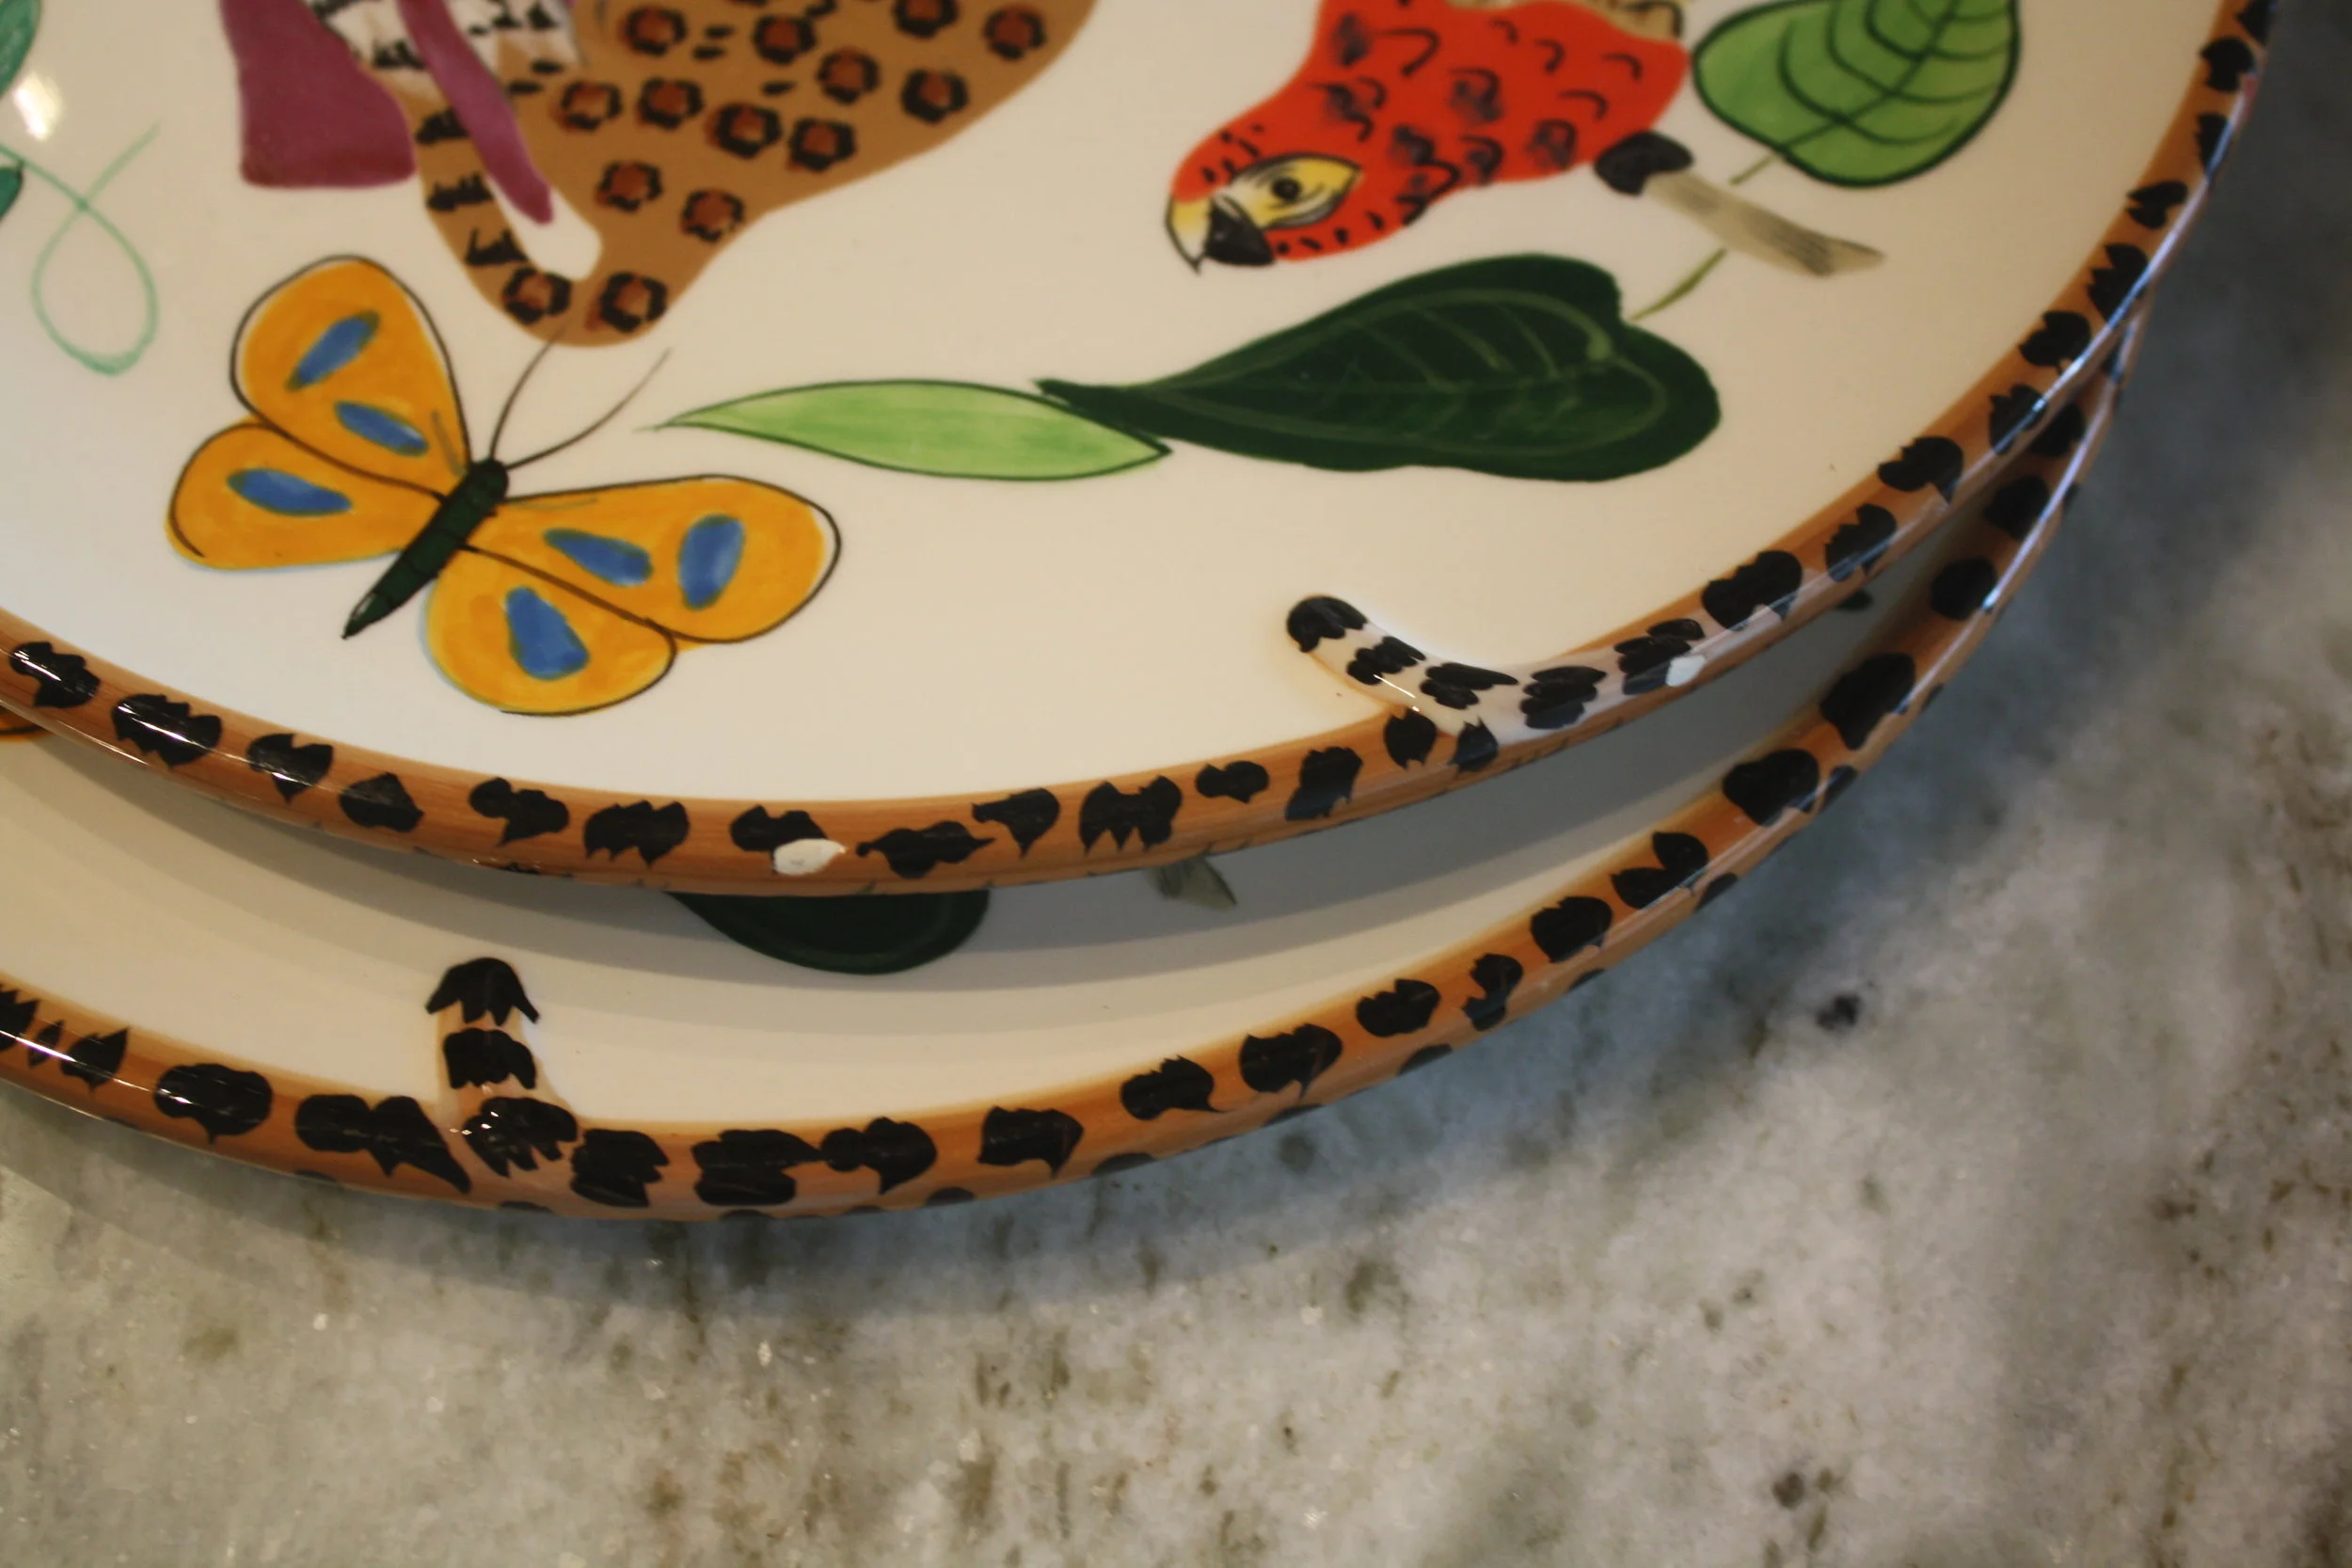
Here is a closeup of the chips

Another closeup...
To fix the chips, color the oil pastel directly into the chip, mix the 2-part epoxy with a toothpick (equal parts) and spread the epoxy over your pastel work. I've seen an alternative method where the oil pastel is mixed directly into the epoxy and then applied. Coloring directly onto the chip worked best for me.

Prep work...

Complete! Three chips basically disappeared..
My color matching was not perfect because I was short on pastels.